Planning a Roofing Project
A roof project is one of the largest capital expenses a property owner faces. Whether you’re dealing with an emergency leak or planning a planned replacement, the difference between a smooth project and a nightmare often comes down to decisions made before anyone steps onto your roof. This guide walks you through those decisions in order.
Most people approach roofing as a single binary question: repair or replace? The real answer is more specific. Your roof might need one kind of intervention, your budget another, and your timeline a third. A good planning process separates what the roof actually needs from what you can afford to do, and it identifies exactly where a professional should make the call instead of you. Each roofing material has different performance and longevity expectations that matter when you’re choosing your path forward.
What Your Options Actually Are
| Option | What It Means | When It Makes Sense | What It Costs (Residential, Approx.) |
| Inspection Only | A licensed inspector documents the roof’s current condition and expected remaining life | You’re new to the property or insurance requires it; you’re planning ahead but not immediately concerned | $300–$600 |
| Spot Repair | Fixing a specific area of active leaking or visible damage without touching the rest of the roof | Damage is isolated to one or two small sections; the rest of the roof has years left | $500–$2,000 per repair site |
| Partial Replacement | Replacing one section of the roof (often one side or one slope) rather than the whole structure | Damage is localized but too extensive to repair; the rest of the roof is still sound; you’re spreading costs across multiple years | $3,000–$8,000 per section |
| Full Replacement | Removing the entire roof to the structure and installing new roofing material across the whole building | The roof is at or past its expected lifespan; repeated repairs are failing; materials are deteriorating across the whole surface | $8,000–$25,000+ depending on size, pitch, material |
These are residential estimates for New Hampshire. Commercial properties, complex rooflines, and specialty materials (metal, slate, tile) cost significantly more. Always get bids from licensed contractors before finalizing a budget.
When to Call a Professional
You should call a contractor immediately if:
- Water is actively dripping inside during rain
- You see sunlight coming through the roof deck
- Shingles are visibly curling, cracking, or missing in sections
- Moss or algae is spreading rapidly across large areas
- You’ve had the roof less than five years and leaks are appearing
- Insurance required an inspection and the report shows imminent failure
These are signs that water is getting into the structure, which gets expensive fast. A $500 repair today prevents a $50,000 rot-and-replacement problem in two years. The cost of the inspection is the cheapest part of the whole process. Learning how experienced property managers evaluate contractors helps you make that call with confidence.
What Success Looks Like

When your project is truly complete, you should have: a written warranty from the contractor (usually 5–10 years on workmanship, longer on materials), photographic documentation of the work before it was covered (underlayment, flashing details, transitions), a maintenance schedule appropriate to your new roof type (asphalt shingles need different care than metal or flat membrane), and clear records of all receipts, permits pulled, and inspections passed.
The Most Expensive Mistake You Can Make
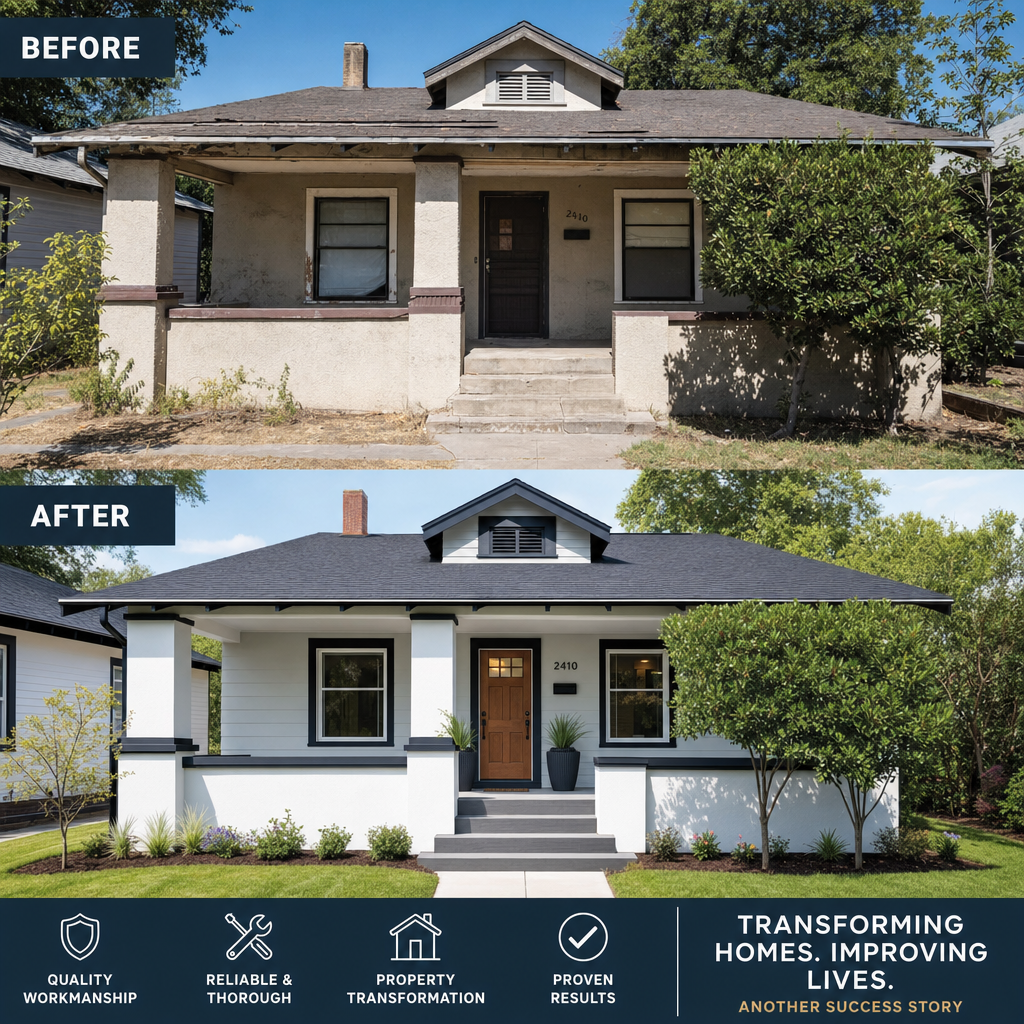
The single most expensive mistake property owners make is confusing “can it be repaired?” with “should it be repaired?” A roofer can almost always repair a small leak. That doesn’t mean the roof isn’t in its final years. If your roof is fifteen years old, has had three separate leak repairs in the past two years, and a new inspection shows widespread deterioration, you are not saving money by repairing the latest leak. You are extending a bad situation and paying again in six months.
The right question is not “Can this be fixed?” but “How much longer does this roof actually have?” An honest inspector will answer that directly. If it’s two years, you replace it now. If it’s five years, you might repair while you save for replacement. If it’s under one year, you are literally in the wrong decision set.
Questions to Ask Before You Commit
- Does the quote include labor, materials, old roof disposal, and permits?
- What is the warranty, and what does it actually cover?
- How long will the work take, and what happens if weather delays it?
- Have they worked on this specific roof type before?
- Can they provide references from the last three years?
These five questions filter most bad decisions before you sign. A contractor who hesitates or gives vague answers on any of them should wait until you’ve gotten a second opinion.
Step Through Your Project
Step 1: Get a formal inspection
Hire a licensed inspector (not the roofer proposing the repair—conflict of interest). They should document the roof’s current condition, material type, estimated remaining life, and any active problems. This is your baseline. Everything else builds from here.
Step 2: Get multiple written quotes
Contact at least three licensed roofing contractors. Provide each one with a copy of the inspection report. Ask them to quote exactly the same scope of work. Compare not just the price but the warranty, timeline, and whether permits are included. The cheapest quote is often the fastest way to regret your decision.
Step 3: Verify licenses and insurance
Before signing anything, call your state contractor board to verify the roofer’s license is current. Ask for a certificate of insurance naming you as additional insured. Call their insurance carrier to spot-check it. This takes 30 minutes and saves you from bearing the cost of an uninsured accident. Understanding what licensing and insurance protections actually cover helps you ask the right follow-up questions.
Hiring the Right Contractor: What to Look For
Choosing a contractor is the single most important decision in your roofing project. This video walks through the key indicators of a reliable contractor and the red flags to watch for.
Step Through Your Project
The steps above cover the critical evaluation phase. Here is how to move forward once you have selected your contractor.
Step 4: Review the contract
Read the whole thing. Look for: exact materials listed by brand, labor timeline and weather contingencies, how extra costs (unexpected decay, permit upgrades) will be handled, warranty terms in writing, what happens if work is incomplete by the promised date. If they won’t put it in writing, do not hire them.
Step 5: Arrange on-site walk-through on day one
Be present when work begins. The contractor should show you the existing structure, point out any hidden damage, and discuss how today’s weather and logistics affect the schedule. This is where unanticipated costs show up—rotted decking, old flashing that needs upgrading—and talking about them now beats discovering them after work is half done.
Step 6: Request photographic documentation
As the old roof comes off, have the contractor photograph the underlying structure, any damage, the new materials going on, and the critical details like flashing and underlayment. These photos are your proof of what was actually done and invaluable for insurance claims or warranty disputes later.
Step 7: Schedule a final walkthrough and inspection
Before you pay the final invoice, walk the roof with the contractor and with an independent inspector if the work was substantial. Verify that all materials match the contract, that flashing is properly sealed, and that the warranty paperwork is complete. Do not pay in full until you’re confident the work is done right.
After the Work Is Done
A roof is not a one-time project. You now own something that requires maintenance. Twice a year (spring and fall), walk the perimeter and look for debris in gutters, standing water on flat sections, or new moss growth. Every three to five years, depending on your roof type, have a licensed inspector check it again. This is how a fifteen-year-old roof lasts twenty and a twenty-five-year-old roof gets you to thirty.
Keep all documentation in one place: the original inspection report, the signed contract, all warranty certificates, and photos of completed work. When you sell the property or need to make an insurance claim, these records are what prove you took care of the asset and what the work was actually supposed to accomplish.